You’ve probably heard that walking poles cut knee strain by up to 25% on descents, but that claim needs some context before you spend $50 to $200 on a pair.
The truth is, poles do redistribute weight and absorb shock. Studies show they reduce force on your lower body by transferring roughly 5 to 10 pounds of pressure per step to your arms.
Whether that matters for your specific trails, pack weight, and joints depends on factors most hikers don’t consider.
What Walking Poles Actually Do for Your Body
Walking poles do more than just steady your feet on uneven trails. They’re doing serious work behind the scenes through enhanced muscle engagement.
When you’re hiking to support community trail projects or leading group outings, these poles absorb over 4% of the force hitting your body. That’s a real impact assessment you’ll feel in your knees, calves, and hips.
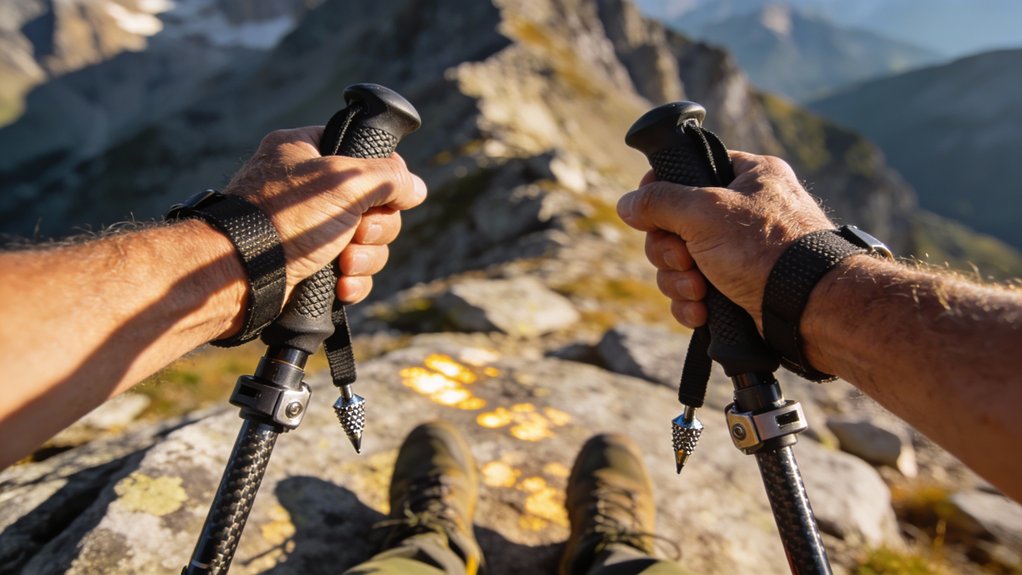
They cut metatarsal pressure by 40% and reduce knee strain by 25% on descents. Your upper body gets involved too, preventing hand swelling and improving circulation.
You’ll maintain better posture, stride naturally, and hike faster with less effort.
Read more on best walking poles in our article: Best Walking Poles for Beginners Over 50
When You Need Poles (and When You Don’t)
How do you know when poles are worth carrying versus leaving behind?
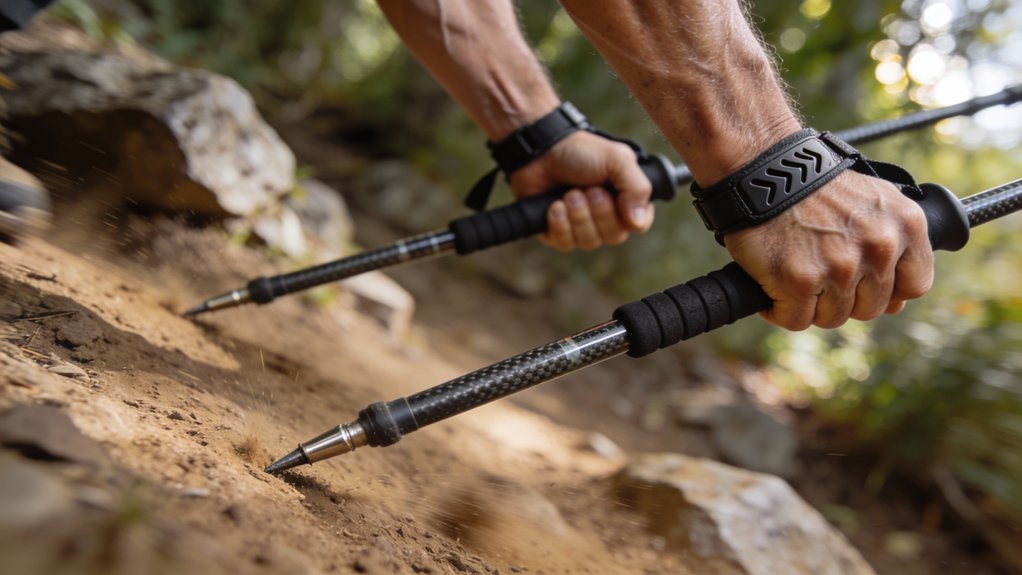
Pole benefits matter most on steep descents, where they reduce knee strain by 25%, and when crossing streams or traversing icy trails.
You’ll appreciate them carrying heavy packs uphill or on slippery surfaces where extra anchor points prevent falls.
However, personal preference plays a significant role. Some hikers skip poles on flat, stable terrain to engage core muscles and feel more connected to nature.
Regular walking on varied terrain can also enhance memory and cognitive function, which is an added benefit to consider when planning your hiking routine.
Consider your route’s conditions, pack weight, and how your knees feel.
There’s no wrong answer, just what works best for serving your hiking companions safely.
Telescoping vs. Tri-Fold: Choosing Your Pole Design

Once you’ve decided poles suit your needs, you’ll face two main designs: telescoping and tri-fold.
Telescoping advantages include superior adjustability: multiple segments extend or collapse to match varied terrain, whether you’re ascending steep trails or helping fellow hikers navigate challenging sections.
They’re also versatile enough to double as tent poles.
Tri fold portability shines for air travel, fitting neatly into carry-on luggage at roughly 15 inches collapsed.
Consider your typical outings: choose telescoping for adaptable height control during group hikes, or tri-fold for compact packing when you’re traveling to serve at distant locations.
Fixed-height poles lack versatility and aren’t recommended.
Carbon Fiber vs. Aluminum: Which Material Wins?
Why does material choice matter so much when selecting trekking poles? It directly impacts your hiking experience and the people you’re supporting on the trail.
Carbon fiber advantages include lighter weight and superior shock absorption, perfect for long-distance treks where every ounce counts. You’ll pay $100 to $300, though.
Aluminum durability shines on rugged terrain, resisting bends better than carbon fiber. These cost just $30 to $150, making them budget-friendly for group outings.
Carbon fiber poles may crack from impacts, while aluminum withstands heavy loads. Your choice depends on trip length, terrain difficulty, and available funds.
Cork, Foam, or Rubber: Picking the Right Grip
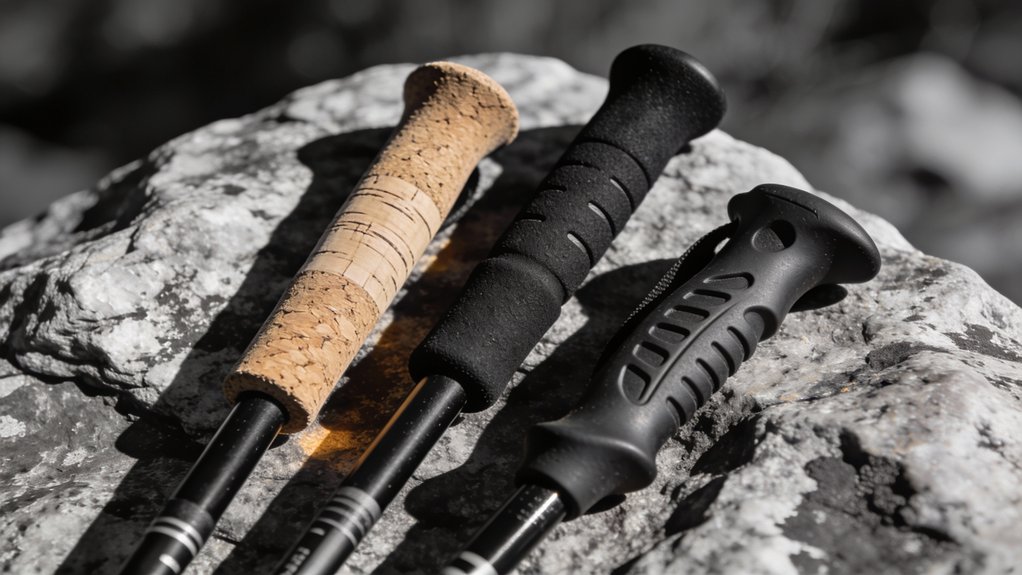
Your grip choice determines whether you’ll finish a 10-mile hike comfortably or develop painful blisters halfway through.
Cork advantages include superior sweat-wicking and reduced hand fatigue during extended treks, though you’ll pay more upfront and need to store poles away from wildlife.
Foam disadvantages center on durability: these grips wear out faster than cork or rubber options, requiring replacement after a season of regular use.
Rubber sits in the middle: it’s budget-friendly and long-lasting but becomes slippery when wet and can rub your hands raw.
Match your grip to your hiking conditions and frequency.
How to Size Your Poles and Essential Accessories
Getting your pole length wrong turns a stability aid into a liability that throws off your balance and strains your shoulders.
Stand upright and adjust until your elbows form a 90-degree angle when gripping the handles.
Telescoping poles provide the best adjustable features for switching between uphill climbs and downhill descents. They’ll even work as emergency tent poles on backcountry trips.
Add the right accessories to boost performance.
Carbide tips bite into dirt and rock, while rubber caps protect pavement surfaces. Swap in wider baskets for snow or sand terrain.
These simple upgrades help you assist others more confidently on challenging trails.
The walking surface has a surprising effect on the load on the joints. Walking poles help, but read more about the effects of different surfaces in our article: Gravel, Grass, or Pavement: Best Walking Surfaces.