
Your heart rate spikes 20-30 beats per minute higher on inclines compared to flat ground, even at slower speeds. That’s why a gentle-looking hill leaves you gasping while your usual walking pace feels effortless on level terrain.
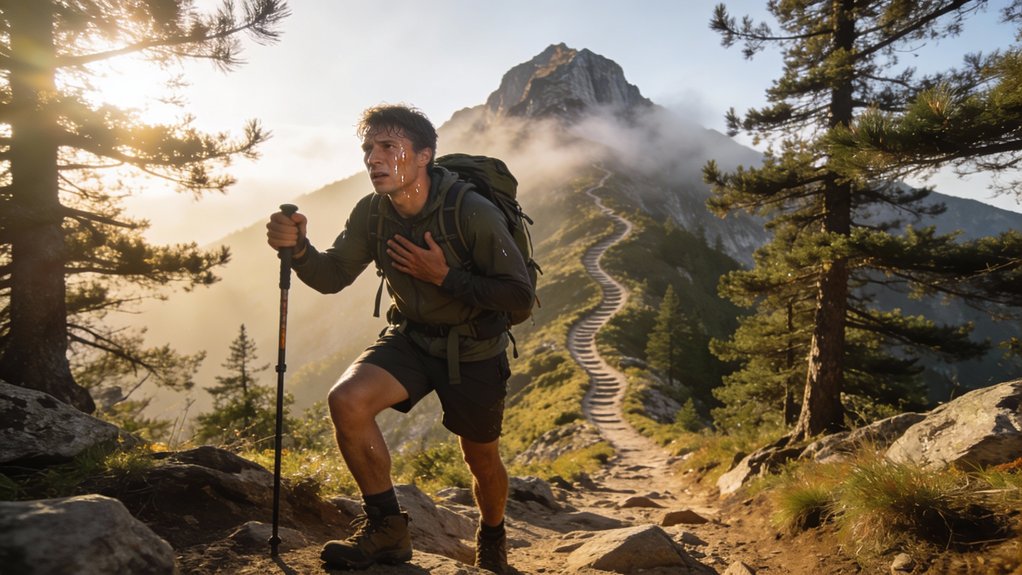
Most beginners make the same critical mistakes: they position their feet wrong, tense muscles that should stay relaxed, and lean back when they should lean forward. These errors drain your energy twice as fast and make every uphill section feel like punishment.
Why Walking Uphill Exhausts Your Muscles So Quickly
When you start climbing a hill, your leg muscles burn through fuel at roughly twice the rate they do on flat ground.
Hill climbing doubles your leg muscles’ fuel consumption compared to walking on level terrain.
Your thighs and glutes, the body’s largest muscle groups, demand massive amounts of oxygen to push you upward against gravity.
This increased muscle engagement drains your energy reserves faster than you’d expect.
Poor foot placement makes things worse by activating unnecessary stabilizer muscles.
Your body responds by sending fatigue signals, fundamentally asking for a timeout before your tanks hit empty.
Building joint strength and endurance through gradual hill training helps your body adapt to these demands more efficiently over time.
That’s why beginners often need breaks every few minutes when tackling their first real incline.
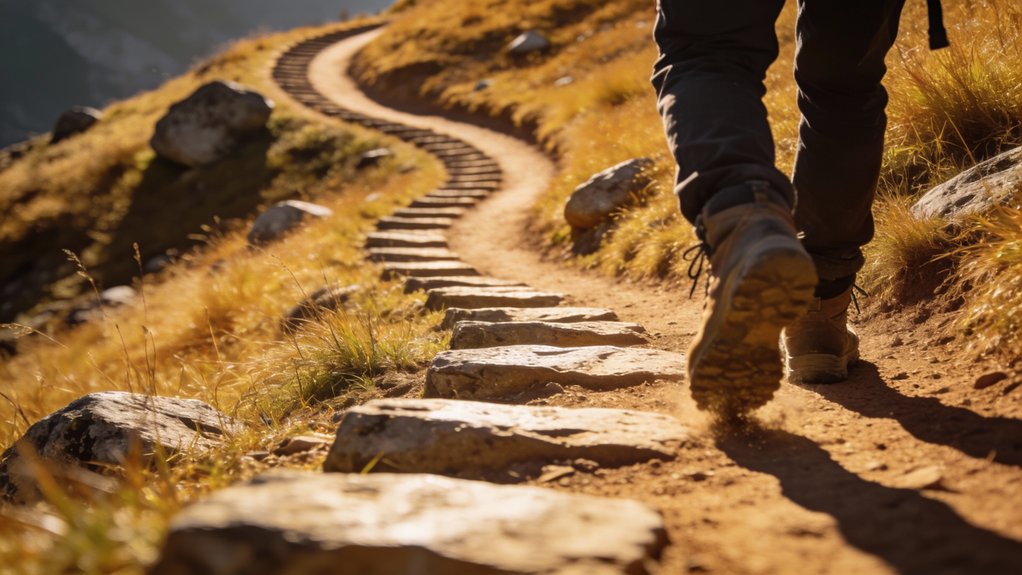
Position Your Heel Under Your Shoulder With Every Step
One simple adjustment to your foot placement can cut your uphill energy expenditure by nearly 30%. When you’re climbing, position your heel directly under your shoulder with each step.
This heel alignment engages your powerful thigh and glute muscles instead of overworking smaller stabilizers. You’ll notice better balance on steep sections, reducing your risk of slipping when helping others navigate challenging trails.
Watch experienced hikers; they naturally maintain this heel-to-shoulder positioning. Practice this technique on moderate inclines first.
Within a few sessions, you’ll develop an efficient rhythm that transforms uphill efficiency from struggle to sustainable movement, letting you support your hiking companions longer. Pairing this technique with regular trail walking will further enhance your strength and endurance for tackling steeper terrain.
Let Your Thighs and Glutes Do the Work

Your body’s largest muscles, the quadriceps in your thighs and the gluteus maximus in your backside, contain more than 40% of your total muscle mass.
When you position your heel under your shoulder with each step, you automatically activate these powerhouses.
This muscle engagement delays fatigue and helps you maintain a steady pace up any incline.
Think of it as built-in strength training: your glutes and thighs are designed to handle the load.
By relying on these major muscle groups instead of smaller stabilizers, you’ll conserve energy and climb more efficiently.
Your legs already have the capacity you need.
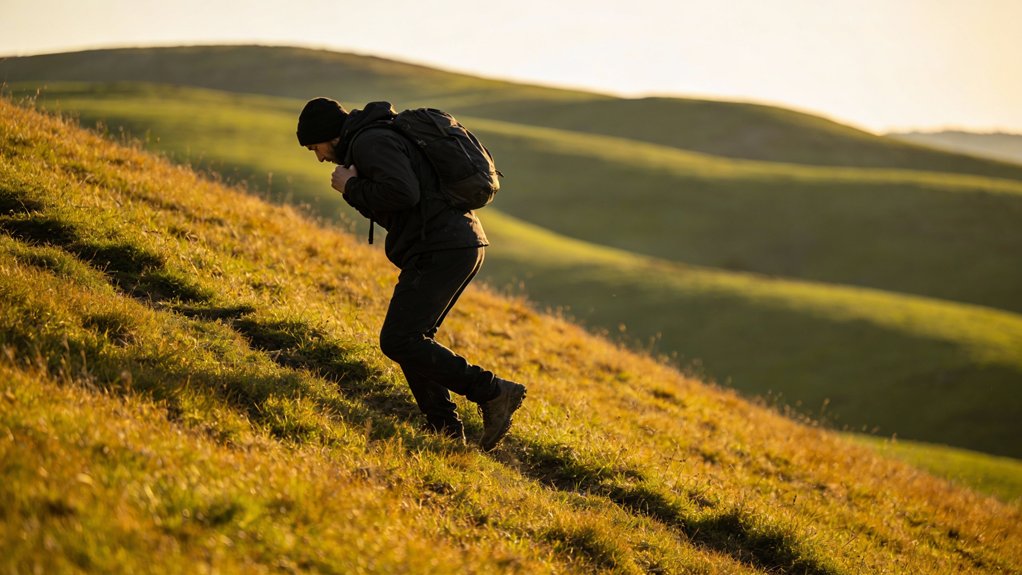
Lean Forward Slightly to Stay Balanced on Inclines
A slight forward lean, about 5 to 10 degrees from your hips, keeps your weight centered over your feet as the ground angles upward.
This natural adjustment prevents you from tipping backward and helps you maintain momentum.
Your center gravity shifts with the terrain, and leaning into the hill works with physics rather than against it.
The forward lean technique offers practical benefits:
- Engages your powerful thigh and glute muscles more effectively
- Reduces lower back strain by distributing weight evenly
- Increases stability and confidence on steep sections
Watch experienced hikers ahead of you.
Their body position demonstrates proper technique you can replicate immediately.
Use Switchback Steps to Tackle Steep Sections
Steep sections become manageable when you walk diagonally across the slope instead of attacking it head-on. This zigzag pattern delivers immediate switchback benefits by cutting the gradient you’re actually climbing.
You’ll conserve energy while engaging your thighs and glutes more effectively, letting you hike longer without burning out. Place your heel directly under your shoulders with each step to maintain proper balance.
Add intermediate steps on particularly brutal inclines to break them into smaller chunks. The energy conservation pays off when you’re supporting others who need encouragement or carrying extra gear for your group.
Practice develops natural rhythm.
Zigzag Around Rocks and Obstacles to Save Energy
When rocks and obstacles block your direct path uphill, treat them as natural cues to zigzag rather than barriers to overcome.
This zigzag technique transforms challenging terrain into energy conservation opportunities, helping you serve as a capable hiking companion who won’t slow down your group.
Smart zigzagging involves three key practices:
- Plant your heels directly under your shoulders for stability
- Take intermediate steps between obstacles to maintain momentum
- Watch experienced hikers navigate similar sections for technique insights
Recognize Early Fatigue Signs Before You’re Exhausted
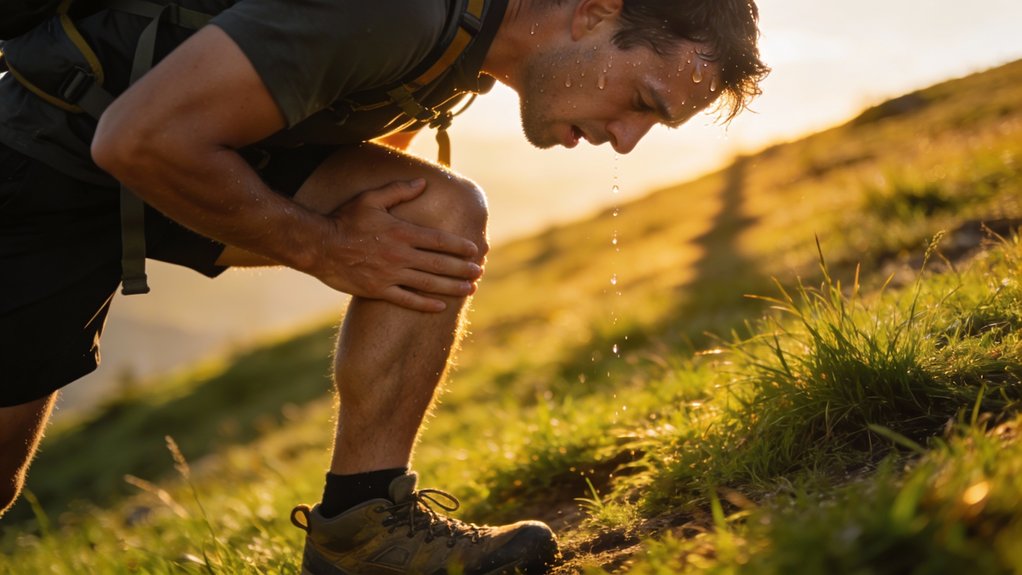
Even the best zigzagging technique won’t help if you push past your body’s warning signals and hit the wall halfway up the trail.
Fatigue awareness starts with noticing your heart pounding harder, legs feeling heavy, or breath coming in short gasps.
Your body speaks through pounding heartbeats, heavy legs, and shortened breath—learn to listen before it’s too late.
These aren’t signs to ignore, they’re your body asking for adjustment. Energy management means slowing down when your thighs burn or taking a break before you’re completely spent.
Check in with yourself every few minutes. Drink water, adjust your pace, or pause for thirty seconds.
Catching fatigue early keeps you moving steadily upward instead of collapsed beside the path.
Walk Downhill With Bent Knees to Spare Your Joints
Downhill sections punish your knees far more than uphill climbs if you walk with locked legs.
You’ll transfer excessive weight straight to the cartilage under your kneecaps, risking strain and discomfort.
Proper joint protection techniques make all the difference:
- Keep your knees slightly bent throughout your descent
- Plant your heels directly underneath your shoulders for better stability
- Bounce gently down the slope rather than stomping with rigid legs
This approach to downhill walking safety distributes impact across your thigh muscles instead of your joints.
You’ll maintain better control, absorb shock effectively, and minimize fatigue.
Practice this technique consistently to protect your knees for future service.
Fix These Common Uphill Walking Mistakes
You’ve mastered descents, but uphill sections reveal different errors that waste your energy and slow your progress. Most beginners tackle slopes like flat ground, overworking their muscles unnecessarily.
Focus on proper foot placement by landing your heel directly beneath your shoulders with each step. This technique supports better energy conservation throughout your climb. Lean slightly forward to maintain balance and efficiency.
Heel placement beneath your shoulders conserves energy while climbing, especially when paired with a slight forward lean for optimal balance.
On steeper grades, zigzag around obstacles rather than forcing straight paths. Replace flat-footed steps with intermediate movements that distribute your weight more evenly.
These adjustments reduce strain and help you serve your hiking companions by maintaining a steady, sustainable pace.